Hi everyone! I hope you’re having a great sunday.
Me and my collegue decided this week to rewrite an api made with Laravel Lumen using ASP.NET Core. While doing so, I was wondering wheter some kind of tool existed to help generate the documentation of the API (since we all know writing a documentation is the least fun thing in programming) and I came across Swagger.
Today I will show how you can automatically generate a documentation (with a UI) for your ASP.NET Core Web APIs using Swagger, as well as some configurations you might be intrested in.
The code using in this post is available here.
Creating a Web API
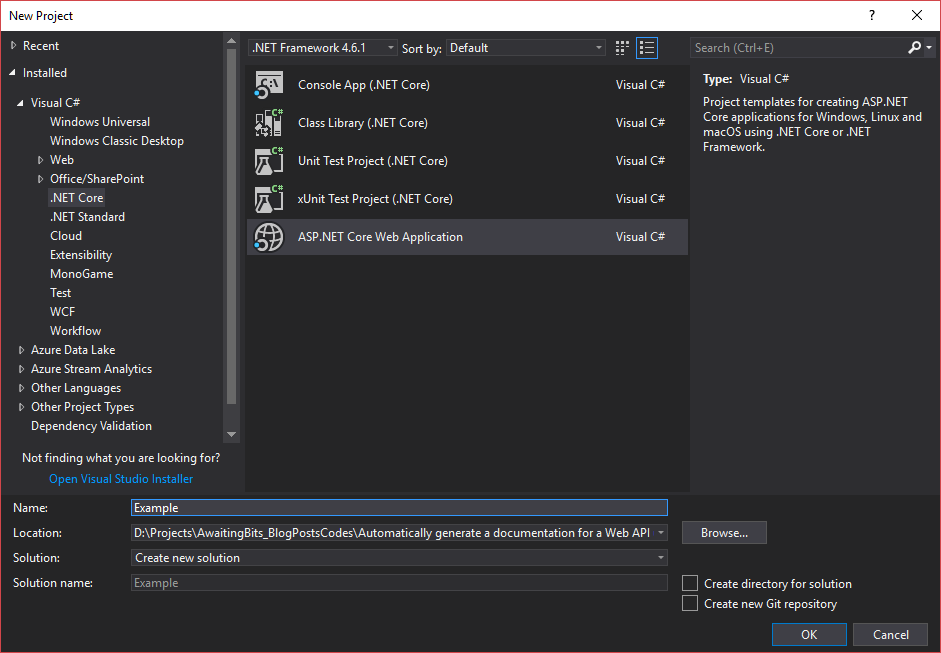
New project dialog
Go ahead and create a new ASP.NET Core Web Application project, then choose Web API in the next dialog.
This will spin up a fresh project for you, containing a single example controller **ValuesController** which we will modify and use. It should look like this:
[Route("api/[action]")]
public class ValuesController : Controller
{

    [HttpGet]
    public IEnumerable<string> Values()
    {
        return new string[] { "value1", "value2" };
    }

    [HttpGet]
    public string Get(int id)
    {
        return "value";
    }

    [HttpPost]
    public void Post([FromBody]string value)
    {
    }

    [HttpPut]
    public void Put(int id, [FromBody]string value)
    {
    }

    [HttpDelete]
    public void Delete(int id)
    {
    }

}
Swagger (OpenAPI)
From the specifications:
Swagger™ is a project used to describe and document RESTful APIs.
The Swagger specification defines a set of files required to describe such an API. These files can then be used by the Swagger-UI project to display the API and Swagger-Codegen to generate clients in various languages. Additional utilities can also take advantage of the resulting files, such as testing tools.
Basically, Swagger is just a specification file (which is generated or manually written), which can then be used for many applications (e.g. tests, documentation).
One of the tools we will be used is Swagger-UI, which generates a HTML documentation.
In ASP.NET Core
Fortunatelly, there are many packages to help us integrate swagger to our web api. Two of them are very known:
- Swashbuckle: Generate beautiful API documentation, including a UI to explore and test operations, directly from your routes, controllers and models.
- NSwag: An OpenAPI 2.0 and 3.0 a LOT of platforms.
We’ll be using Swashbuckle, which can be easily installed using NuGet Package Manager:
Install-Package Swashbuckle.AspNetCore
Integrating Swashbuckle
First of all, we have to setup the swagger specification file generation:
// In ConfigureServices
services.AddSwaggerGen(c =>
{
    c.SwaggerDoc("v1", new Info
    {
        Title = "Example API",
        Version = "v1"
    });
});
This will inject the services Swashbuckle needs to generate it.
We also have to use it in our app:
// In Configure
app.UseSwagger();
Lastly, we add the HTML documentation generation:
app.UseSwaggerUI(c =>
{
    c.SwaggerEndpoint("/swagger/v1/swagger.json", "Example API v1");
});
/swagger/v1/swagger.json is the path to the generated specifications file by default (we will see later how to change it).
If you start debugging and go to localhost:port/swagger you should see:
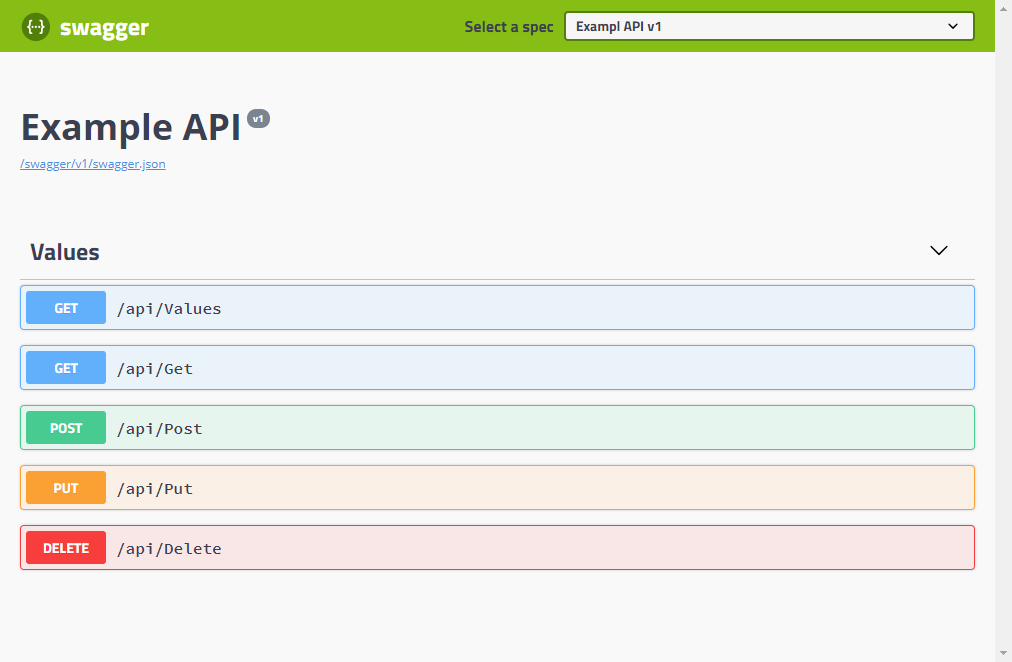
Swagger UI
Which honestly, looks magnificent, considering we didn’t do any work.
In the interactive documentation, you can see routes grouped by their controllers (by default) and you can even try requests by clicking “Try it out”.
XML Documentation
Another feature of Swashbuckle is the ability to use the XML documentation of our project to get more informations about the routes.
First, activate the XML documentation by adding this to your csproj file:
<PropertyGroup>
    <GenerateDocumentationFile>true</GenerateDocumentationFile>
</PropertyGroup>
Visual Studio will start giving you a warning, saying that X method doesn’t have a XML comment. To suppress it, add <NoWarn>$(NoWarn);1591</NoWarn> in the same PropertyGroup.
You can now start commenting your requests (sorry for the lack of imagination):
[Route("api/[action]")]
public class ValuesController : Controller
{

    /// <summary>
    /// Gets two values.
    /// </summary>
    [HttpGet]
    public IEnumerable<string> Values()
    {
        return new string[] { "value1", "value2" };
    }

    /// <summary>
    /// Gets a value.
    /// </summary>
    /// <param name="id">The id !!</param>x
    [HttpGet]
    public string Get(int id)
    {
        return "value";
    }

    /// <summary>
    /// Posts a value.
    /// </summary>
    /// <param name="value">The value !!</param>
    [HttpPost]
    public void Post([FromBody]string value)
    {
    }

    /// <summary>
    /// Puts a value.
    /// </summary>
    /// <param name="id">The id !!</param>
    /// <param name="value">The value !!</param>
    [HttpPut]
    public void Put(int id, [FromBody]string value)
    {
    }

    /// <summary>
    /// Deletes an entry.
    /// </summary>
    /// <param name="id">The id !!</param>
    [HttpDelete]
    public void Delete(int id)
    {
    }

}
Finally, tell Swashbuckle to use the XML documentation file:
services.AddSwaggerGen(c =>
{
    c.SwaggerDoc("v1", new Info
    {
        Title = "Example API",
        Version = "v1"
    });

    // XML Documentation
    var xmlFile = $"{Assembly.GetExecutingAssembly().GetName().Name}.xml";
    var xmlPath = Path.Combine(AppContext.BaseDirectory, xmlFile);
    c.IncludeXmlComments(xmlPath);
});
Start debugging and enjoy the results.
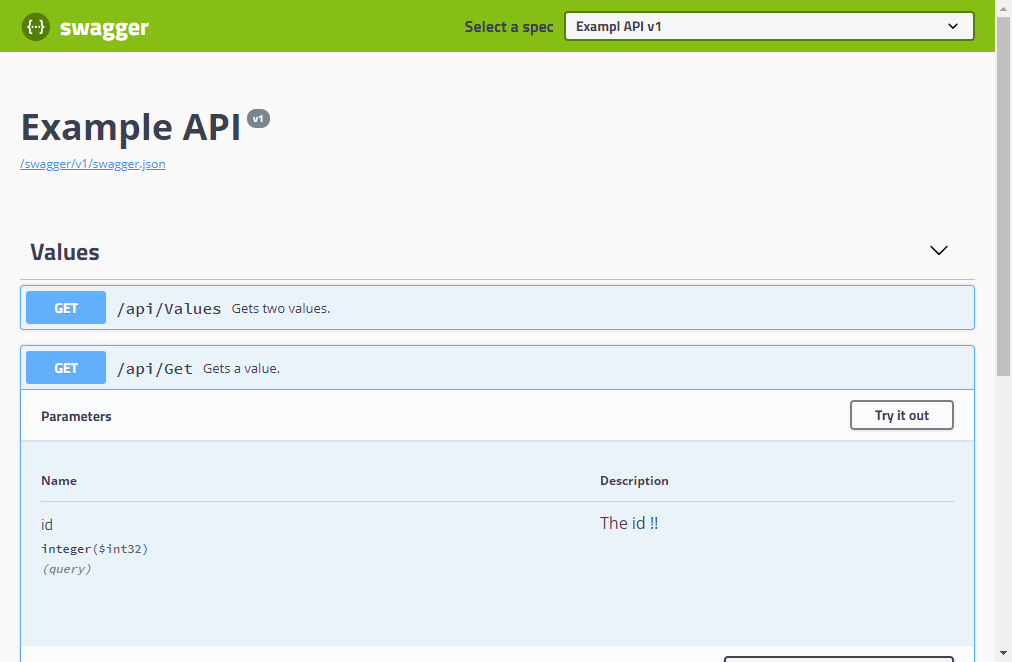
Swagger UI with XML documentation
Changing the default routes
If you want to change where the specification file is generated (by default /swagger/v1/swagger/json), Swashbuckle got you covered!
First, we change the route template:
app.UseSwagger(c =>
{
    c.RouteTemplate = "docs/{documentName}/docs.json";
});
The {documentName} here tells Swashbuckle where to put the version (e.g. /docs/v1/docs.json).
Lastly, we change the end point in the UI:
app.UseSwaggerUI(c =>
{
    c.SwaggerEndpoint("/docs/v1/docs.json", "Exampl API v1");
});
If you start debugging, you’ll see no changes except in the path where the specification file gets generated, which is now /docs/v1/docs./json.
Also, it’s possible to change the route of the HTML documentation:
c.RoutePrefix = "docs";
You will have to navigate to localhost:port//docs for the interactive documentation.
Annotations
Swashbuckle proposes some useful annotations to enrich documentation.
First, install the appropriate package:
Install-Package Swashbuckle.AspNetCore.Annotations
Then tell Swashbuckle to use them:
services.AddSwaggerGen(c =>
{
   // ...
   c.EnableAnnotations();
});
Operations
SwaggerOperation is a useful attribute where you can set the summary, description, id and the tags of a certain request/route, for example:
/// <summary>
/// Gets two values.
/// </summary>
[HttpGet]
[SwaggerOperation(Summary = "Gets two values", Description = "Gets two hardcoded values")]
public IEnumerable<string> Values()
{
    return new string[] { "value1", "value2" };
}
The summary is the same as the XML documentation and the description is show under the request (in the interactive documentation).
Responses
SwaggerResponse is an attribute where you can set for each status code a description, for example:
/// <summary>
/// Gets two values.
/// </summary>
[HttpGet]
[SwaggerOperation(Summary = "Gets two values", Description = "Gets two hardcoded values")]
[SwaggerResponse(200, "I guess everything worked")]
[SwaggerResponse(400, "BAD REQUUUUEST")]
public IEnumerable<string> Values()
{
    return new string[] { "value1", "value2" };
}
The will show in the Responses part of every request (where the status code 200 is present by default).
Tags
SwaggerTag is an attribute where you can set a tag for a controller, which can be then used to group requests by something other than the controller’s name:
[SwaggerTag("Requests about values")]
[Route("api/[action]")]
public class ValuesController : Controller
The tag is also shown next to the controller’s name:
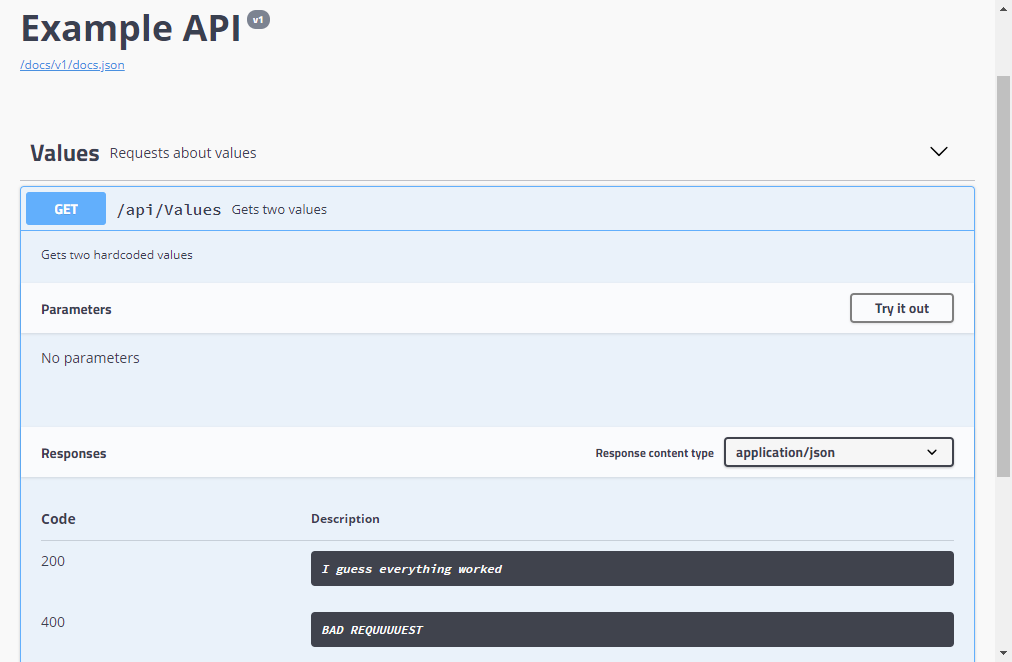
Swagger UI with annotations
This concludes today’s post!
In my opinion, Swashbuckle makes it easier to concentrate on the actual API and leave the documentation writing to it, which honestly it does a great job at.
Richard Morris is doing a great job developping and maintaining the library, it has everything you need and I advise you to use it whenever you need to.
Have a good Monday!